25 Valuable Tips For The Best Travel Photography Portraits
by
Kevin Landwer-Johan
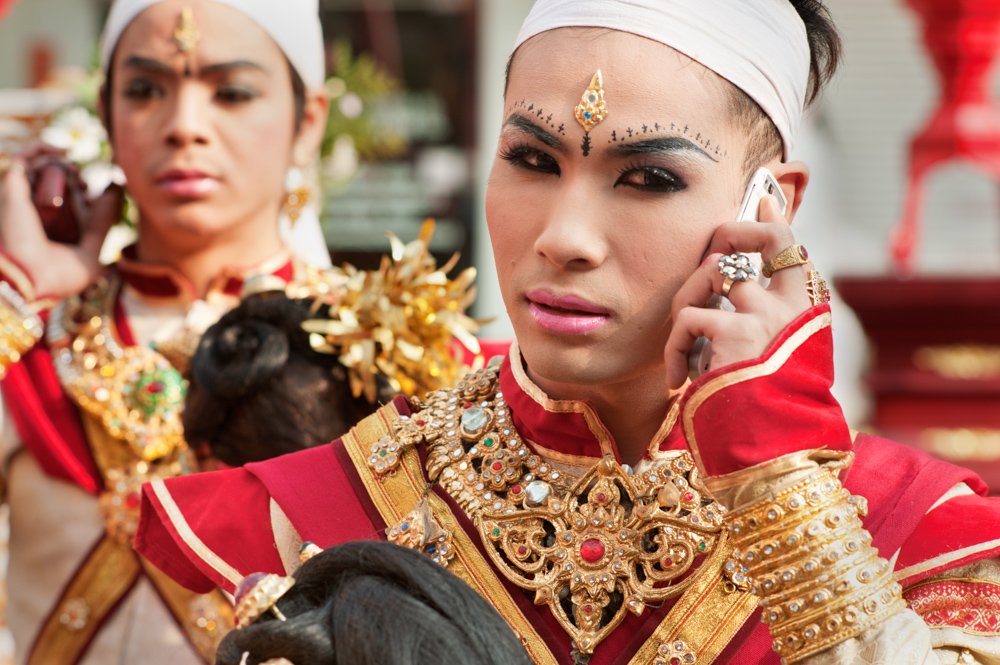
Travel always involves meeting people. Learning to make great travel portraits will enrich your experience. It will also help preserve your wonderful memories. Here are 25 tips to help you make the best travel photography portraits.
One big regret I have from the first time I traveled is that I didn’t take enough portraits. Back then, it was a long time ago, I was very shy. Photographing strangers I met along the way was too far outside my comfort zone. Now, years later, I wish I had photos of those people to accompany my wonderful memories.
1. Be Aware Of Your Environment
Get a feel for your new location. Whenever you travel you find yourself in unfamiliar places. Photography in a different culture and society is not the same as when you’re at home.
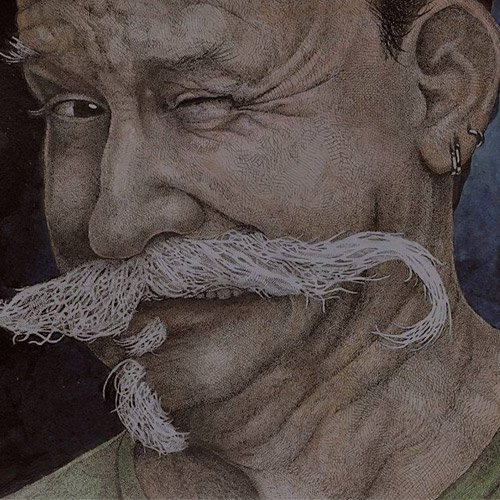
Look around you and take stock of the situation before you even take your camera out of the bag. Do you feel comfortable where you are? Ask yourself why or why not. Getting the vibe of a new place and the people will help you make better cultural photographs. You’ll be able to capture more of the essence of your experience the more aware you are of the environment.
2. Connect With People You Want To Photograph
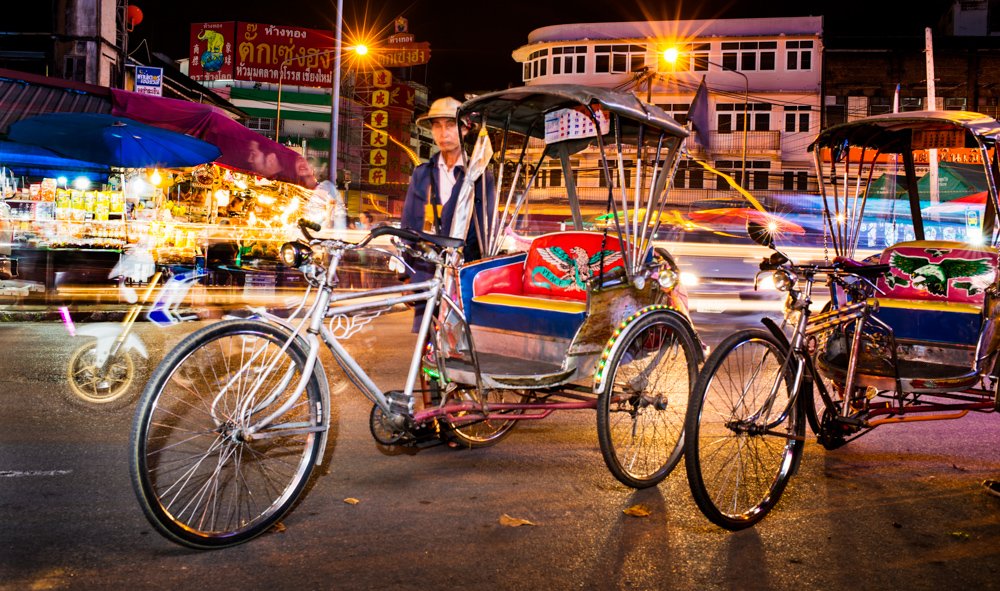
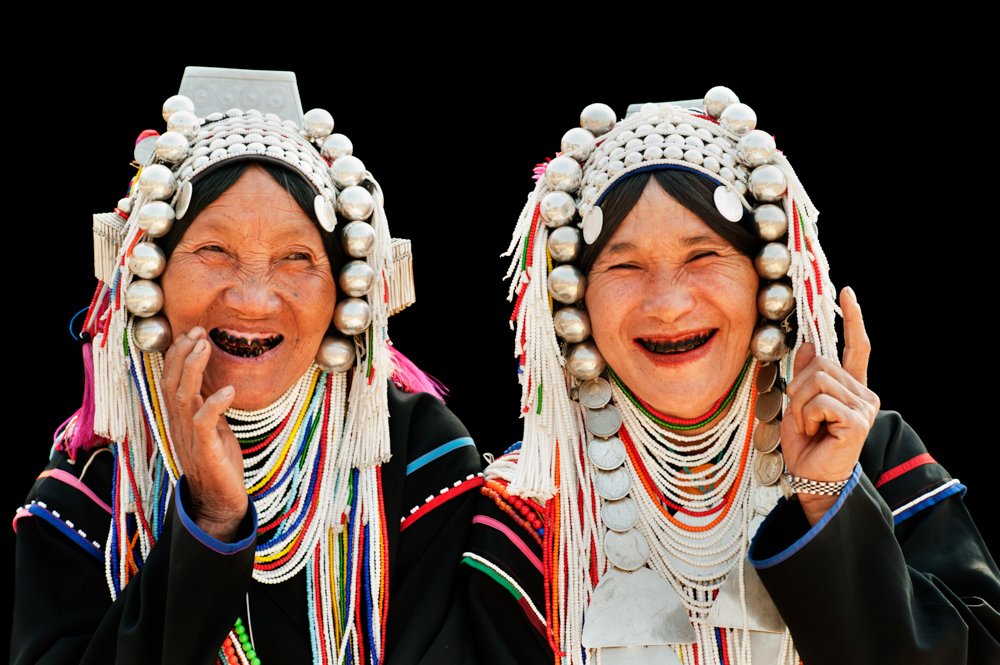
When you’re traveling, connecting with people can be easier. Locals will often be more tolerant and open to being photographed by a tourist.
Be confident when you connect and use your camera as a bridge. Your camera is a wonderful tool to help you relate to strangers. Make the most of it.
If you are relaxed and sure about what you are doing, the people you are photographing will sense this too. Being close to them will not be a problem.
3. Learn a Few Phrases in the Local Language
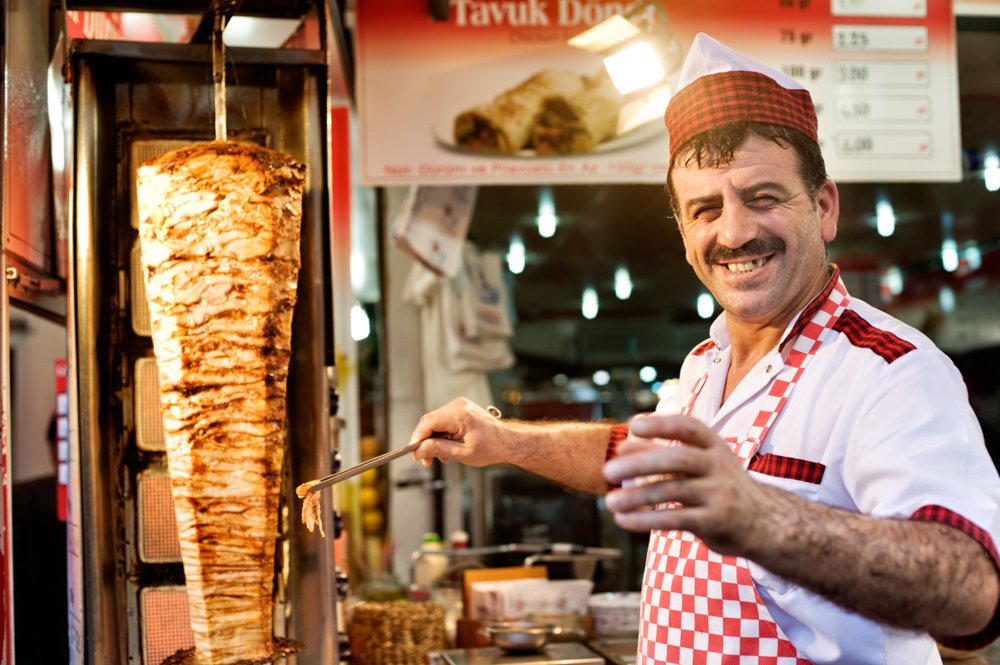
Picking up even a little of the local language is not difficult. This will help break the ice and endear you, even if your pronunciation is not perfect. Just because you try local people will appreciate your effort.
Use a phrase book. Get online and do a quick search. Or ask the staff at your hotel. Learn to say ‘hello, may I take your photo.’ Repeat the phrase a few times. Write it down so you can check it when you are out. It’s usually not that complicated.
Body language and gestures are often universal and will help you communicate too. Simply holding your camera and nodding your head towards it will communicate your intention. Watch for their response. If they smile back at you, then you have permission to take their photo.
4. Choose The Best People To Photograph
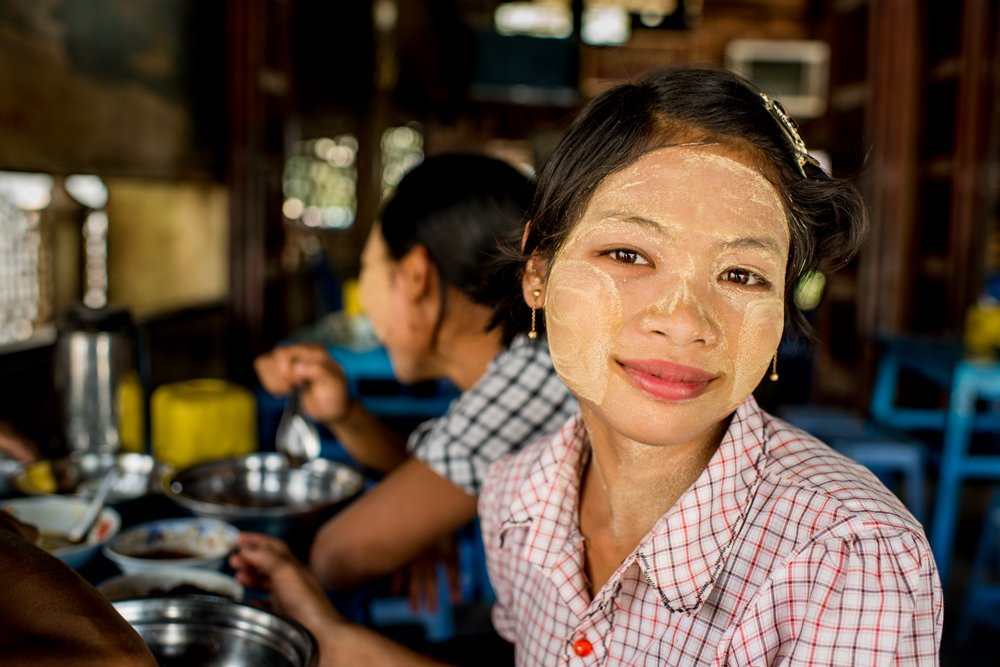
The easiest people to photograph are the ones who enjoy it. By watching people for a little while you can pick up some clues. Are they relaxed? Do they interact easily with other people around them? Or are they more guarded?
You can learn to see who is more likely to respond well when you want to connect with them. These are the people to ask. Picking the right people to photograph will help you gain confidence in yourself. If you keep asking shy people you will receive more negative responses. This will make it more difficult to continue.
5. Use a Medium or Medium Wide Angle Lens
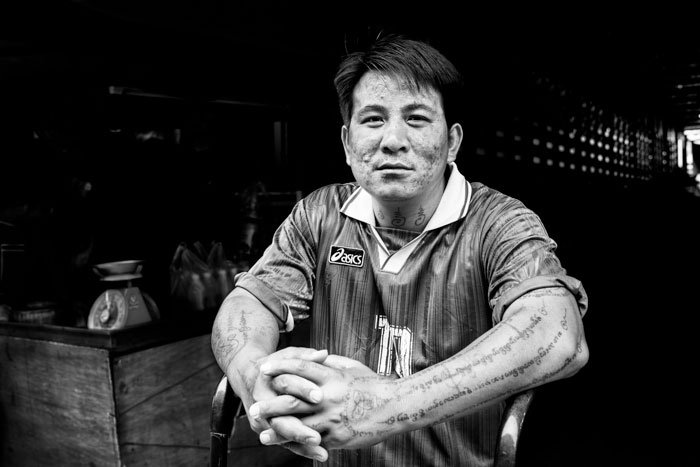
Using a long lens will make it more challenging to capture intimate travel portraits.
Choosing a 35mm or 50mm lens, or a wide to medium zoom, means you can photograph someone at a closer range. This will help you communicate with them more easily. It does require you to be confident but this will also work to your advantage.
6. Be Interested In People and What They Are Doing
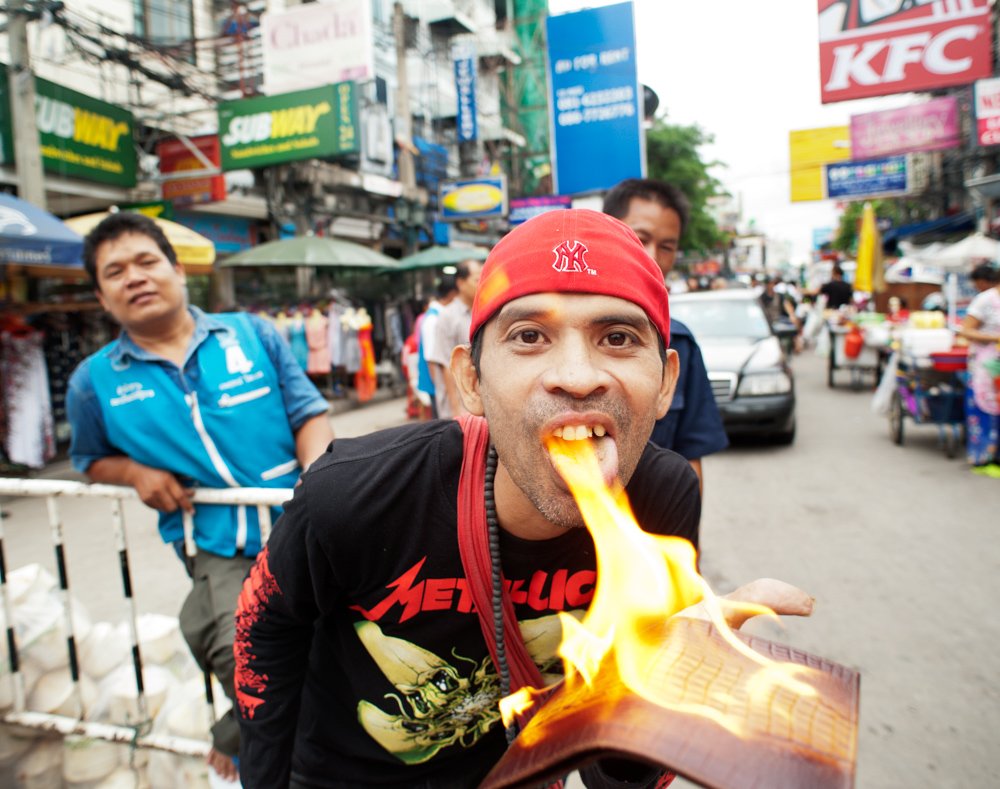
Being interested in someone will help them relax. Showing your curiosity in some aspect of a person or what they are doing can help you connect with them.
If you can’t speak to communicate use your facial expression and body language. Usually, people will understand and be flattered that you are showing an interest in them. This will help them relax and respond well when you want to take their portrait.
7. Show People Your Photos
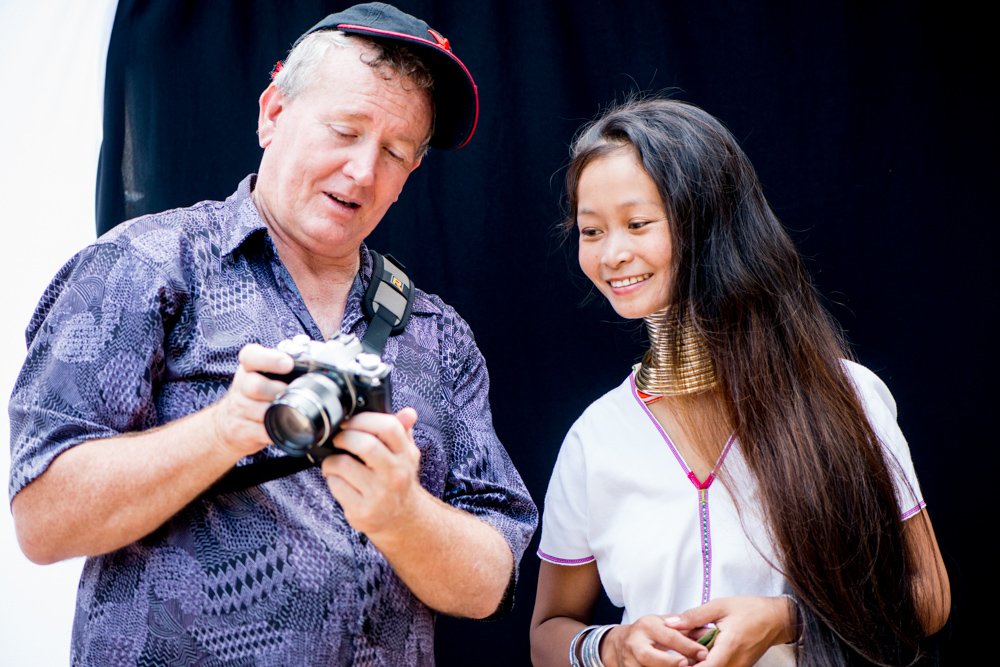
Once you’ve taken a few photos, show the person. This will help you make more of a connection. Quite often they will feel more comfortable.
Make sure you have one or two flattering images of them. Don’t show them a photo they look awkward in.
If you use a medium or medium to wide lens as I suggested in tip #4, this will make showing people your photo easier. Being a bit closer to people they’ll be able to see your camera monitor more clearly.
8. Know Your Camera and Settings
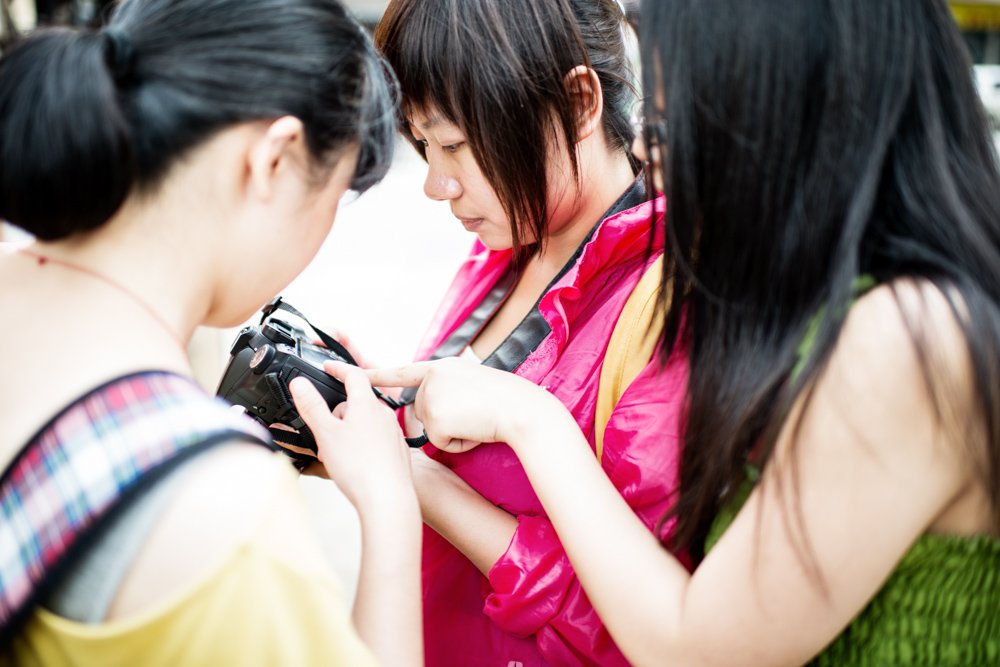
Have your camera ready before you approach someone. Choose the best focal length lens for the situation. Check your exposure and set it well. Even take a quick reference photo and check it to see if the person’s face will be well exposed.
The more attention you can give to your subject the more comfortable they will be with you. If you are looking down fiddling with your camera settings you’ll not be able to connect with people so well.
This takes practice. It is very important to know how to set your camera to get sharp, well-exposed photographs. The more quickly and easily you can do this the better photos you’ll be taking.
Learn the primary functions of your camera on manual mode. This will give you more freedom and confidence. You’ll get the technical aspects of your travel portraits correct more often.
9. Take Notice of the Light
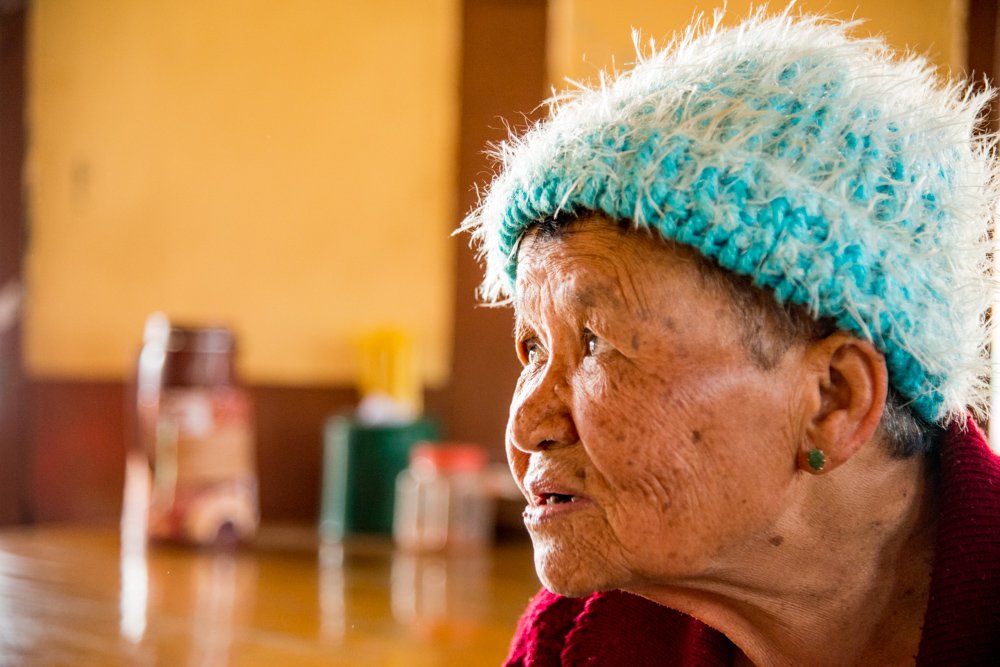
Light is the essence of photography. The better the light is, the better your photographs will be.
Is the light strong on the person’s face? Are there dark shadows because of this? In these circumstances, you’ll need to be more deliberate with your exposure settings. If a person’s eyes are in shadow you may not be able to see them clearly in your photographs.
Photographing people in the shade, or in diffused light, it’s easier to get a more even exposure.
When there is a strong light behind a person you’ll also need to be more accurate with your exposure settings. Backlit portraits can be wonderful, but they are also easy to make a bad exposure with. Use your spot meter to take a reading from the persons face to ensure it’s well exposed.
10. Be Aware of What’s Behind Your Subject
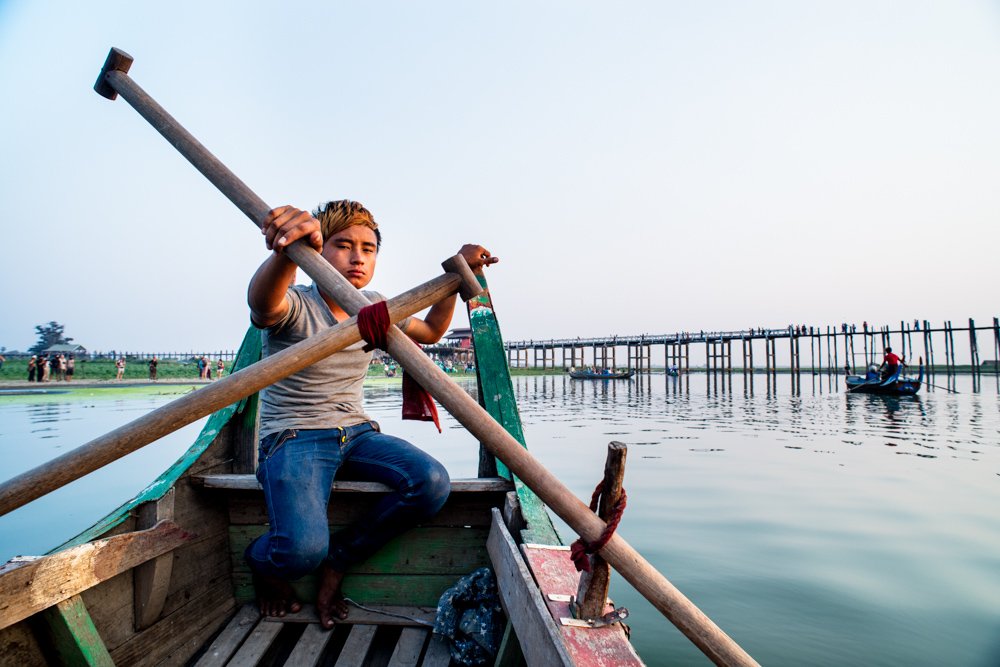
Are there any distracting elements close in behind your subject? Try and avoid them in your composition. A clean, clear background will help focus attention on the person.
Coming in a little closer, either by moving or zooming your lens, can help cut out distractions.
You can also use a wider aperture setting to blur the background. When using this technique make sure enough of your subject remains in focus.
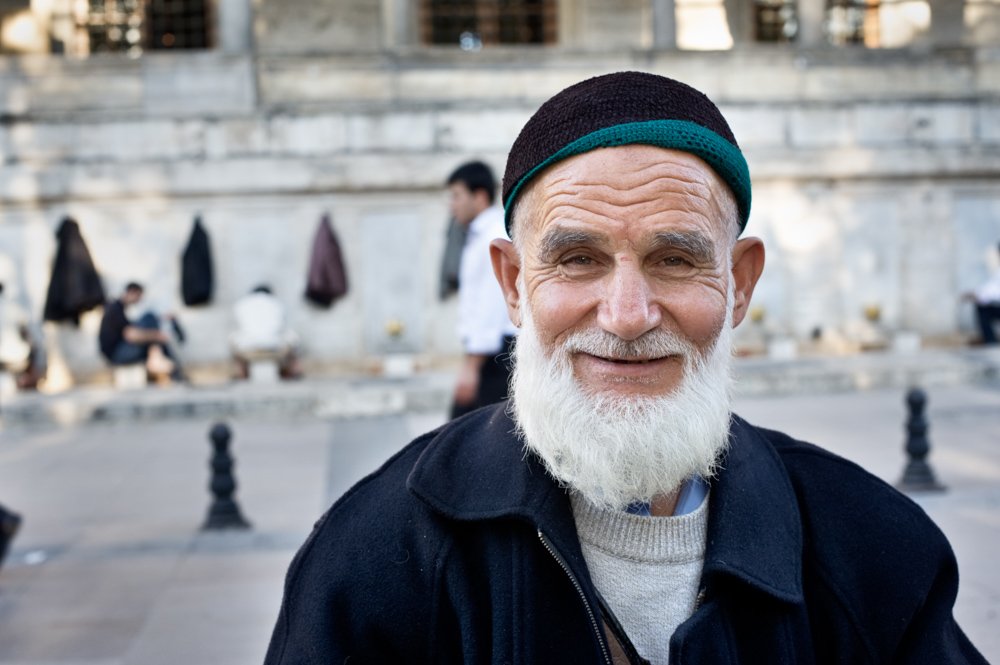
11. Focus On Their Eyes
Taking portraits it’s important to make sure the person’s eyes are sharp. If you are not careful you might focus on their ear or some other part of them. Sometimes, especially when using a wide aperture setting, this will mean their eyes are out of focus.
The eyes are the window to the soul. If there’s not enough definition in their eyes you will lose a certain amount of character. If someone’s nose or ears are not perfectly in focus it will not matter so much as when their eyes are not sharp.
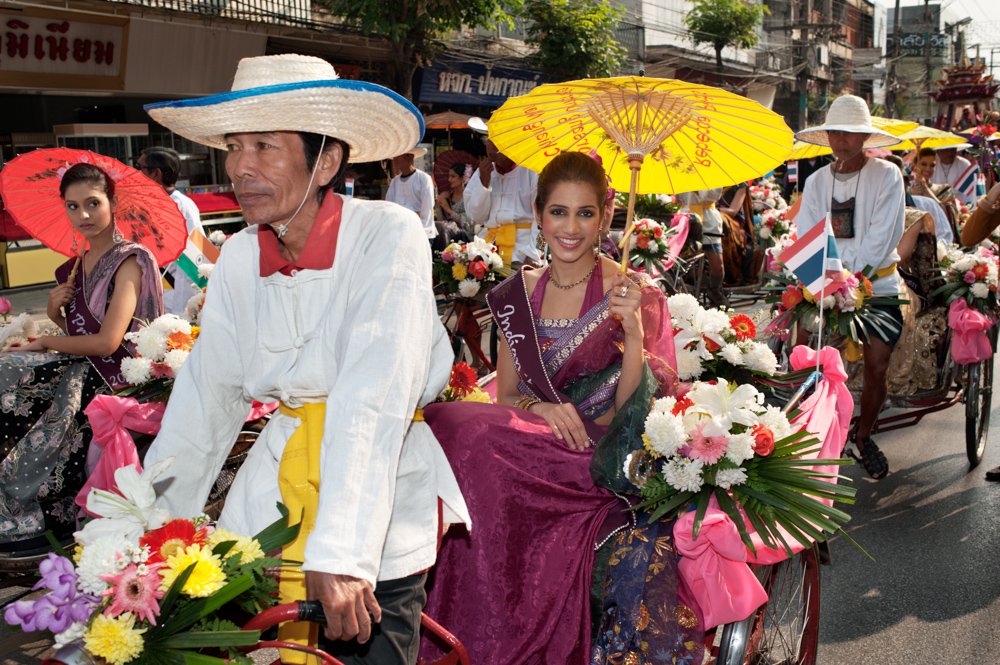
12. Find A Good Location To Photograph From
The more comfortable you are the better your portraits will be. If you’re in an awkward position or situation you’ll not be able to concentrate so well.
When there are a lot of other people around try and stay out of their way. Position yourself so people or traffic is not moving between you and your subject.
Your position will also dictate what you see in the background.
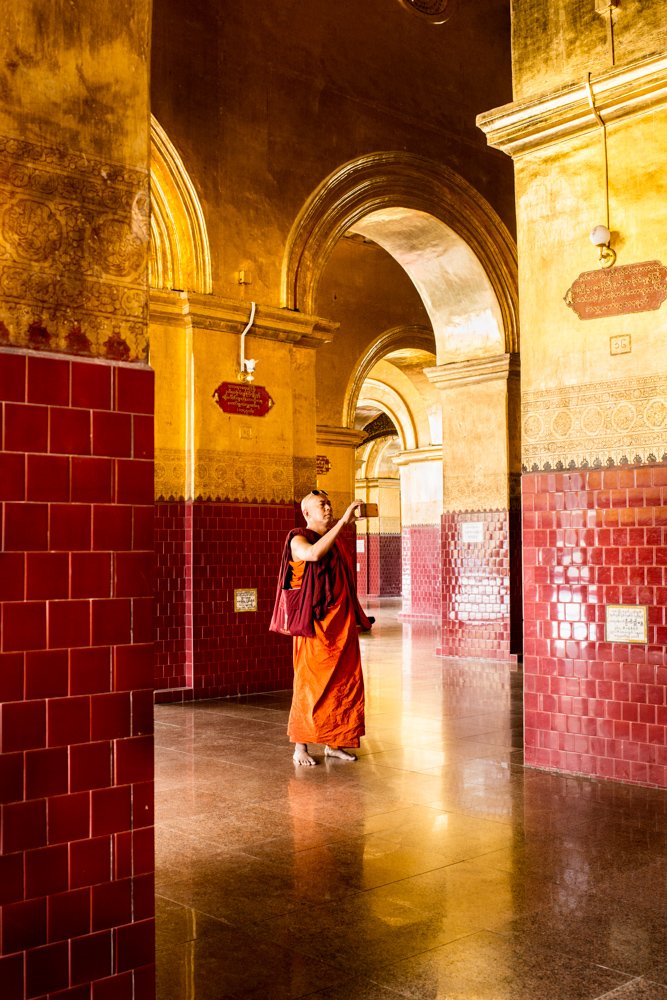
13. Move Around To Find Better Angles
The first angle you chose might not be the best. Move around, even a little, to find different perspectives. A bit to your left or right you might find a more interesting composition. You might find a more interesting background.
Your position in relation to your subject and the background will determine what you see in your frame.
You might need to ask the person you are photographing to change their position slightly. This can get them in the best location to take their portrait. Don’t be shy to do this as many people will appreciate what you’re doing. They will be flattered you are paying attention and wanting to make the best portrait you can of them.
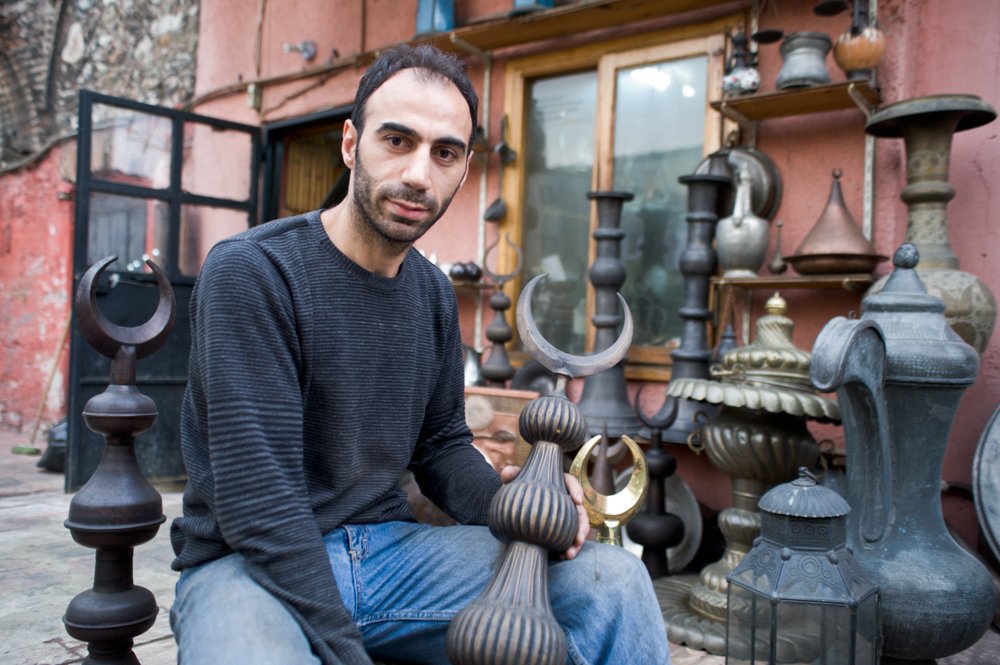
14. Compose For Isolation Or Environment
Taking travel portraits you will at times want to include some of the surroundings. This helps tell a better visual story. Other times you will want to isolate a person from their environment.
When the location is meaningful and will add depth to a portrait it’s best to include some of it. A wider lens will help you do this more effectively. Try to include elements in your composition that are relevant to the person you are photographing.
Isolating your subject can make a portrait more powerful at times. When the background is too busy and distracting using a shallow depth of field can help. A background with less or more light can also help isolate your subject.
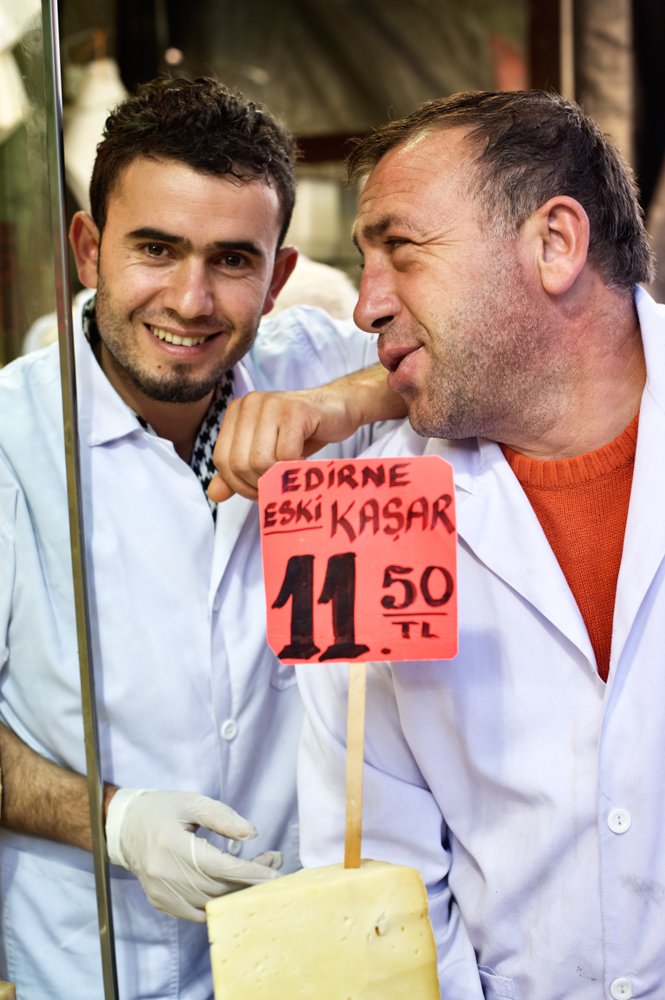
15. Fill The Frame
Look at what’s in your frame, not only at your subject. If you see elements which do not add to the composition, do what you can to eliminate or hide them from view.
Be aware of how much space is above your subject’s head. One of the most common mistakes is to center the person’s face in the frame. This leaves a lot of empty space above their head. This space rarely adds anything to the composition.
Once you have focused on your subject’s eyes, tilt your camera down so there’s minimal space above their head. This will mean you can see more of what’s in the foreground, which is probably more interesting.
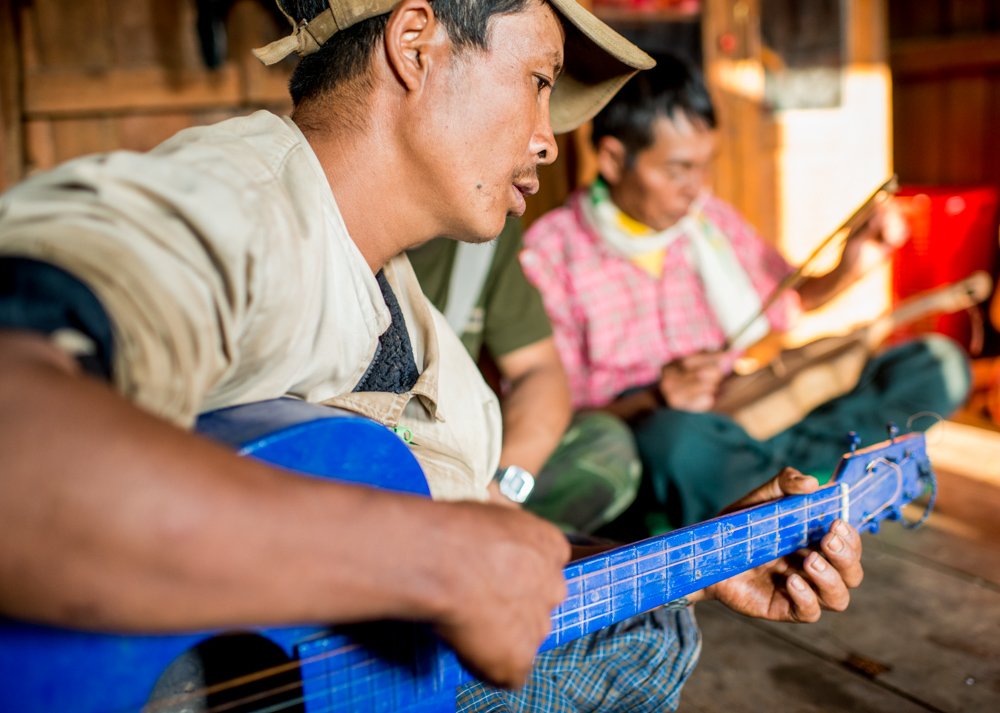
16. Use Props With Your Subjects
Including some other element in your compositions can help make more interesting portraits. Musicians and craftspeople are easy enough to find good props for. Use their instrument or the tools of their trade. Other times you may have to use your imagination a little more.
Make sure the prop is meaningful but not too imposing in your photograph. You want the focus to remain on the person, not on the prop.
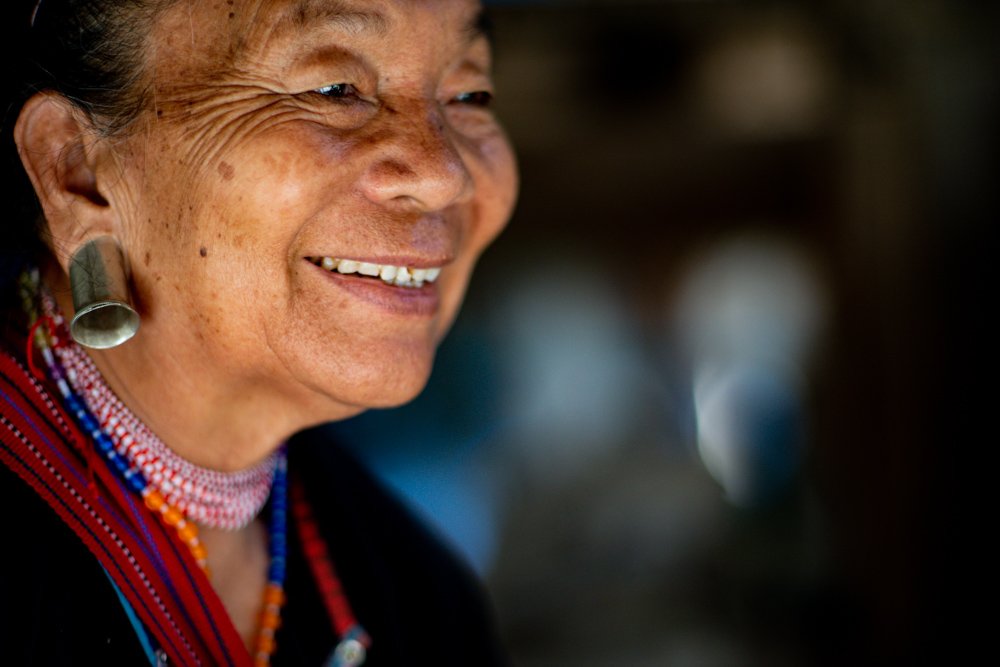
17. Think About Where Eye Level Is
Framing your subject with your camera at their eye level will create a neutral feeling.
If you’re above the eye level of them looking down, this can seem imposing. They may appear insignificant.
Photographing someone from a position lower than their eye level can make them look more important. Looking up at your subject can suggest an air of respect or a person of authority.
There is no hard and fast rule with this, as with many aspects of photography. Go with what looks best and feels right to you. Being aware of the difference in height you chose to photograph from will help you create better portraits.
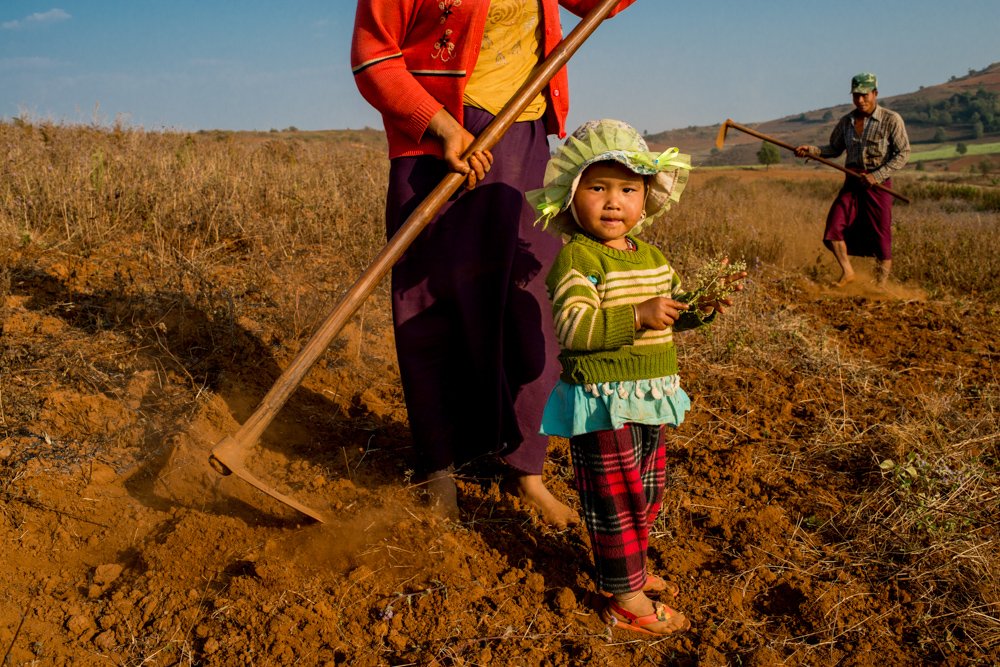
18. Take Both Vertical and Horizontal Photos
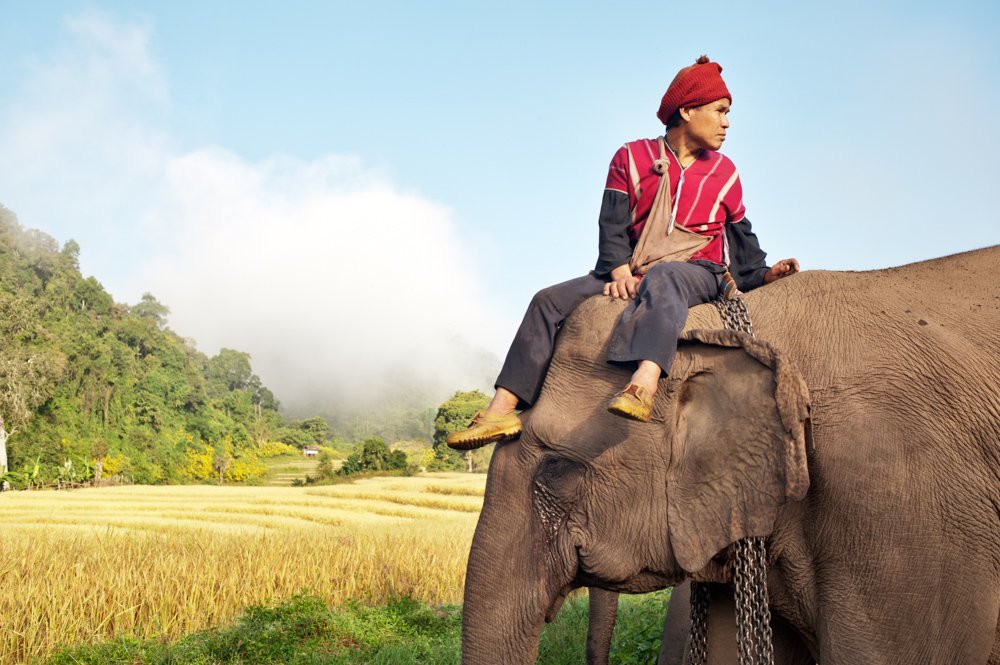
I don’t like the terms ‘portrait’ and ‘landscape’ to define the orientation of a photograph. I find it can limit people’s creativity to be thinking portraits should be vertical. I often prefer to make travel portraits with a horizontal orientation.
Environmental travel portraits are often best when a horizontal format is used. This allows you to more naturally show a person in their surroundings. Even when the person is isolated a horizontal portrait can work very well.
19. Take More Photos Than You Think You Need To
One of the biggest mistakes photographers make when taking travel portraits is not to take enough photos. Coming back home and finding you did not manage to capture enough sharp, well-exposed photos of a person is disheartening.
People move. This adds complexity to your photography. You need to capture the best moment. When they’re smiling or laughing. When they’re talking with someone. While they are busy concentrating on their work. Whatever the situation, if there’s a person involved, take lots of photos so you can be sure you capture a few gems.
20. Be Intentional When Taking Candid Portraits
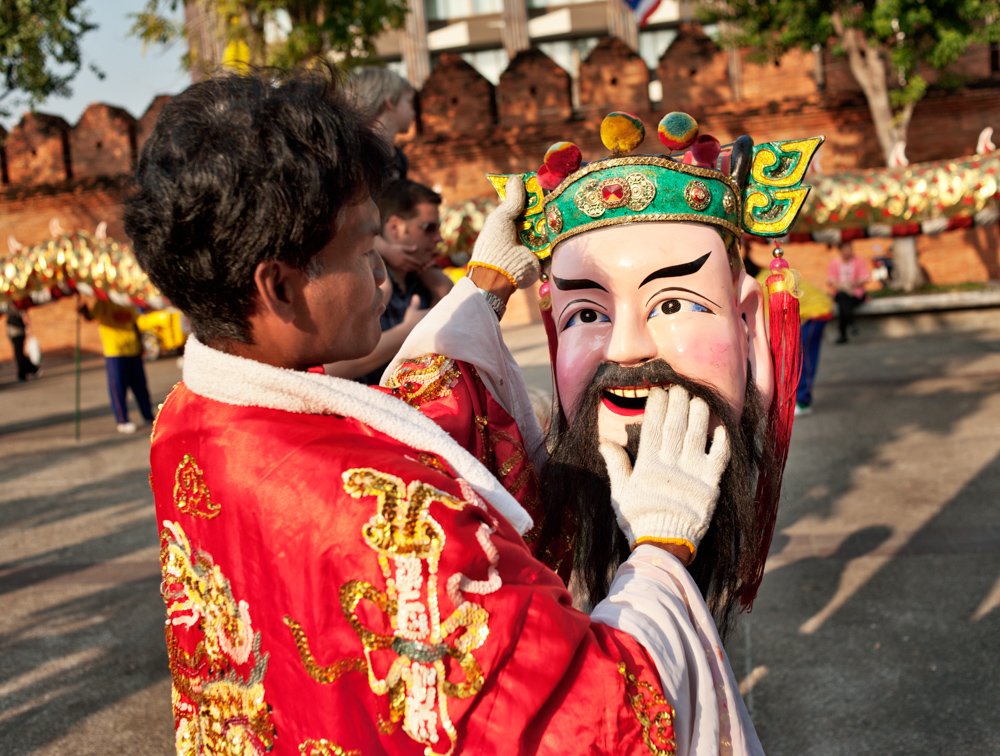
Candid travel portraits can be brilliant. Catching a person engrossed in what they are doing will often make a more interesting picture than having them pose. But don’t take the easy option and make candid photos of people when it would be better to engage with them.
Only make candid portraits intentionally. Don’t make them because you are too shy to communicate and ask a person if you can take their photo. If you think you’ll get a better photo of someone if you talk with them first, then do so. Enjoy the interaction. They will probably enjoy the experience of having their photo taken.
21.Think In Black and White
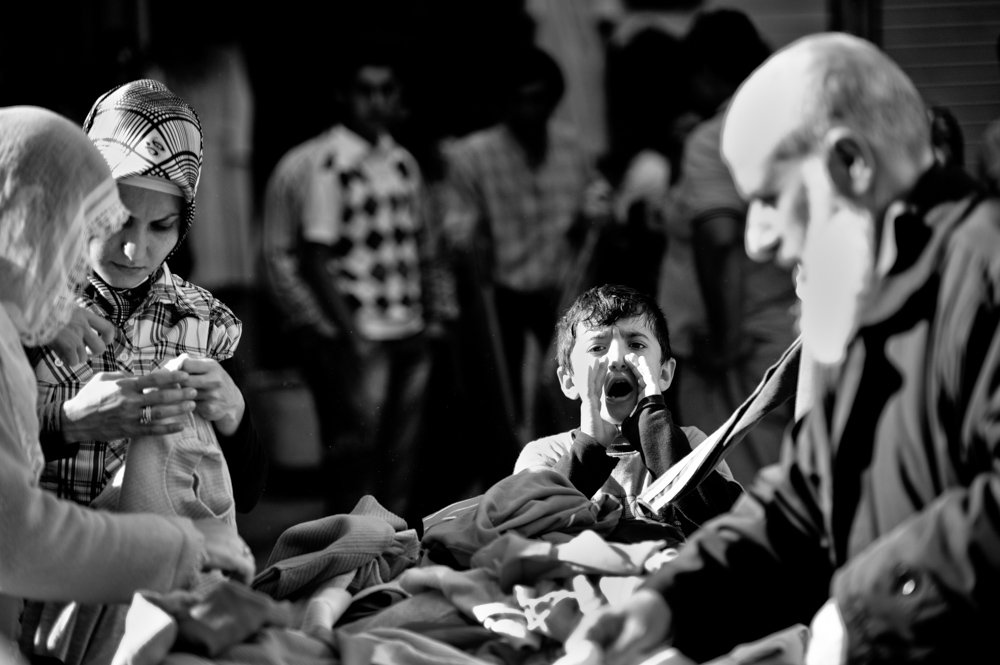
Consider your subject and the lighting. Black and white photography is all about tone and the shades of gray in your composition.
Lighting has a huge influence on how a photo will look in black and white. If the color in your composition does not enhance it, then think about how it will look as a monotone.
Sometimes when you are composing a portrait there may be colors in your frame that distract from your main subject. This is an ideal time to think in black and white.
Consider how the light is. Soft light and hard light make two very different styles of monotone photos. Soft light makes for a nice even tone range. Hard light will produce dark shadows and bright highlights.
22. Follow Your Gut Feeling
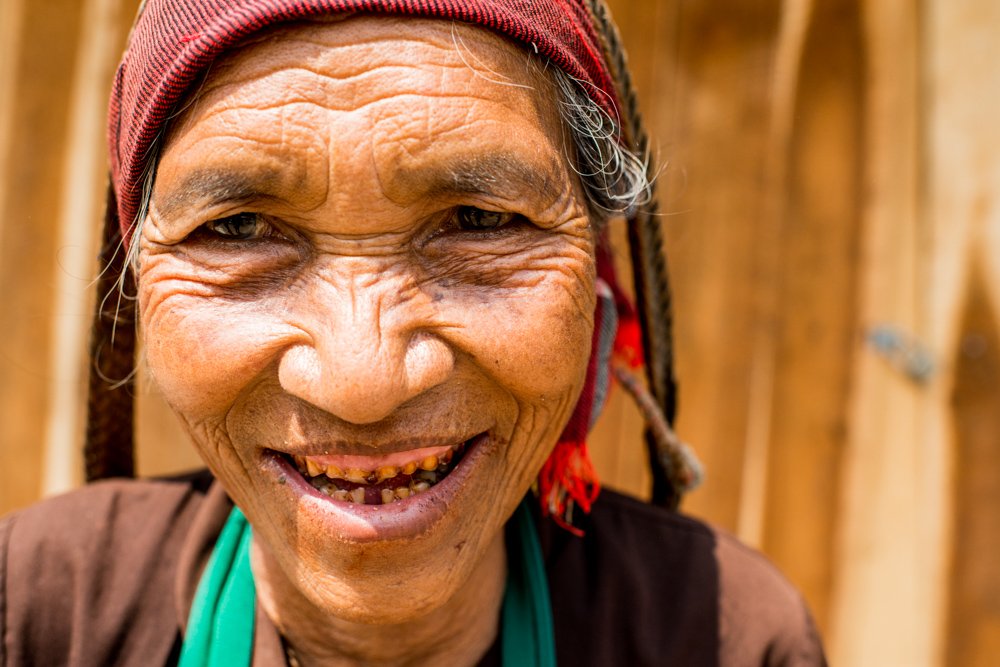
Why are you taking the person’s photograph? What has attracted you to them? Thinking about how you’re feeling can help you add more life to a portrait.
The way you feel can help you decide how to frame a portrait. What will you include in the frame? How much empty space will you leave around the person? Will you crop in close to their face or include their whole body?
Be aware of the emotion in any situation, both your feelings and those of the person you’re photographing. This can influence the outcome of your pictures.
23. Pay Someone When It’s Appropriate
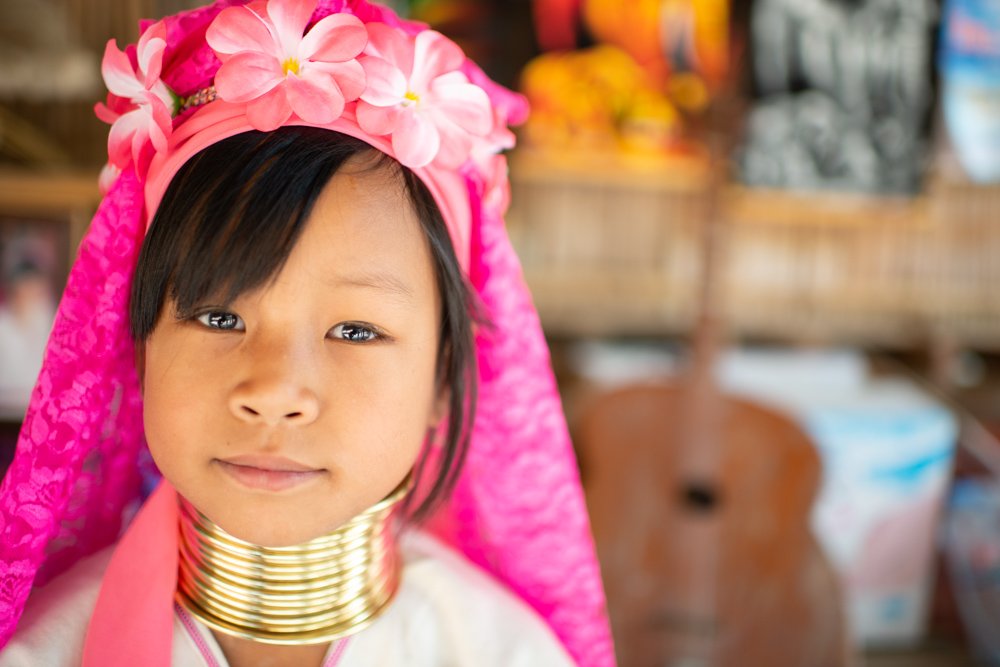
Traveling amongst poor people in tourist areas it’s not uncommon for people to expect money for taking their picture. Don’t take advantage of their poverty to make your pictures. Be considerate and give a little back. You are benefitting from them so paying them is often the right thing to do.
When someone prompts you to take their photo, they may expect payment in return. It’s good to be aware of this and make your choice whether to take their photo or not based on how much they are asking for. Sometimes it is well worth it. If you have time and the situation is right, make the most of the circumstances and take a series of portraits. If the person is cooperative, tip them well.
Making a purchase from someone is a good lead into photographing them. I have many photos of people I have bought souvenirs from.
24. Take Selfies With People
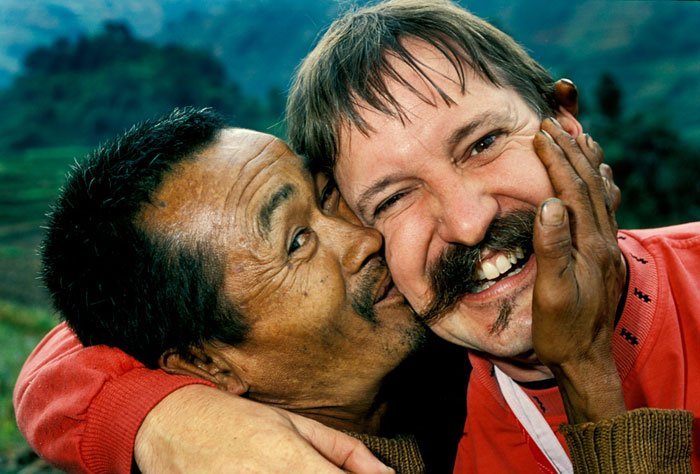
Once you have made some nice portraits of a person, pull out your mobile phone and ask them if you can take a selfie together. This will be fun and help you to remember the interaction you are having.
Sharing these selfies alongside the portraits you made will enhance your social media. Your followers will be able to relate more to your travel story when they can see you in the picture sometimes.
Alternatively, have your travel companion take a photo with you and your subject. This is a photo of me and a friend I made in Yunnan Province in China. It was long before the selfie was invented. It’s a wonderful reminder of an incredible adventure.
25. Collect Email Addresses and Social Media Contacts
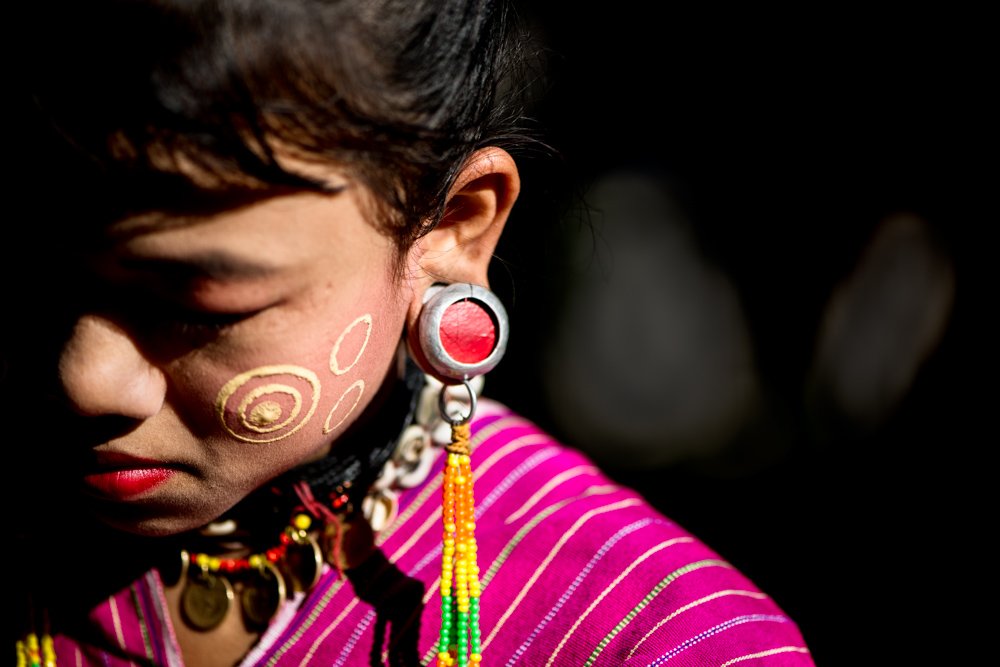
Most people will have an email address or social media account they are happy to share with you. Send them or tag them in the portraits you’ve made so they can enjoy the photos too. This is another fun way to boost your social media following.
Cultural Photography is All About the People
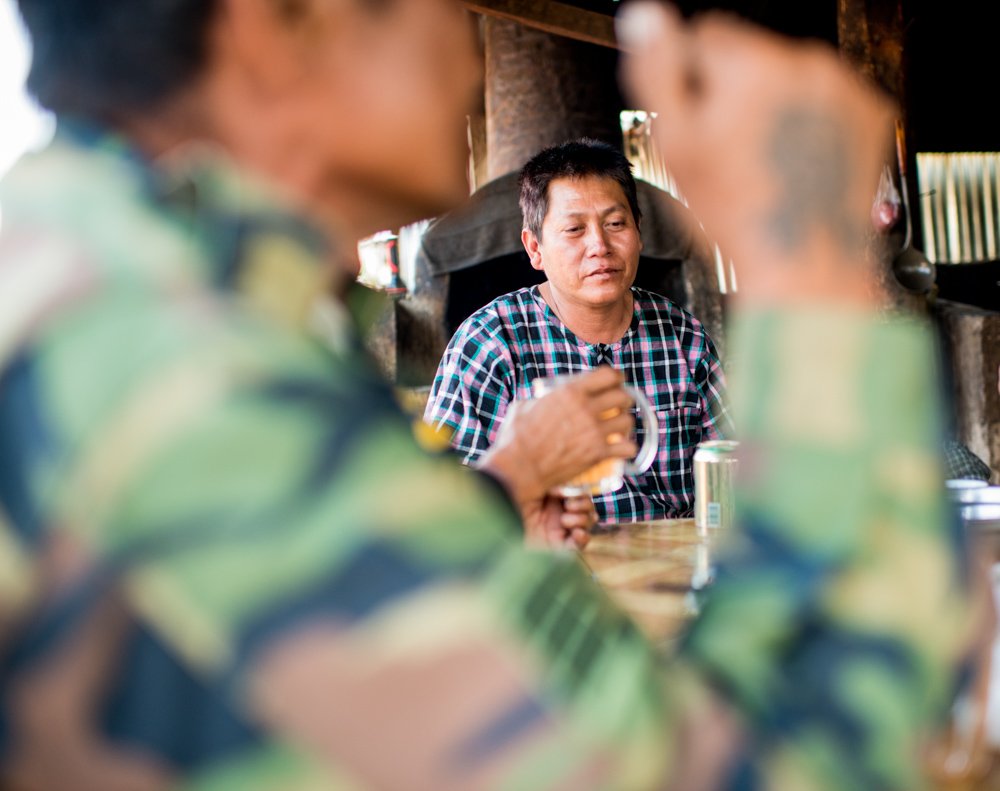
Travel photography ideas are much easier to come up with when you consider including people in your pictures. Cultural photography is all about the people. Merely photographing the places you travel to others will not be able to relate so well to your experience.
Making good travel portraits will mean your photos are more interesting to people when you share them. Most of us like to share some photos on social media or photo sharing sites like 500px. If your photos don’t include at least some portraits people may not pay so much attention to them.
We’re designed to connect with one another. Connect with and photograph the people you meet when you travel. Doing this will help your followers connect with and appreciate your photographs even more.
Further Reading
If you’ve enjoyed reading this post you will also enjoy “How To Choose the Best Travel Photography Workshop.”

Equipment I used to make these photos.
Nikon full frame camera body. I use an older model D800. This link will take you to view the Nikon D850 which is the upgrade model.
Nikon AF FX NIKKOR 35mm f/1.4G
Nikon AF-S FX NIKKOR 50mm f/1.4G
Nikon AF-S FX NIKKOR 85mm f/1.4G
Nikon AF-S VR Micro-NIKKOR 105mm f/2.8G
Nikon AF-S fx NIKKOR 24-120mm F/4G ED
These are affiliate links for your shopping convenience. We appreciate when you shop with us. It helps me continue to keep this website relevant and up to date.